How to make your WaveBird GameCube controller work with your Nintendo Switch
If you're looking for a way to use your Wavebird, here's how to do it with your Nintendo Switch.
If you have a Wavebird GameCube controller just laying around, you can now take it out of retirement and use it for gaming again. Nintendo Switch now has compatibility with the WaveBird, which is great if you already have the controller. You won't have to spend loads of money on a Pro controller, and it's very simple to connect it to your Nintendo Switch. Here's how to connect your GameCube WaveBird controller to your Switch.
How to connect it
Since the adapter must be plugged in, it will pop up as a USB controller even if it is wireless. Since the Switch itself won't be able to connect to the Wavebird, this will only be able to work when your console is in the dock.
-
Plug your adapter into the USB port on the dock. Your controller should be turned on and connected to the adapter.
- Go to the Controller tab down by the settings.
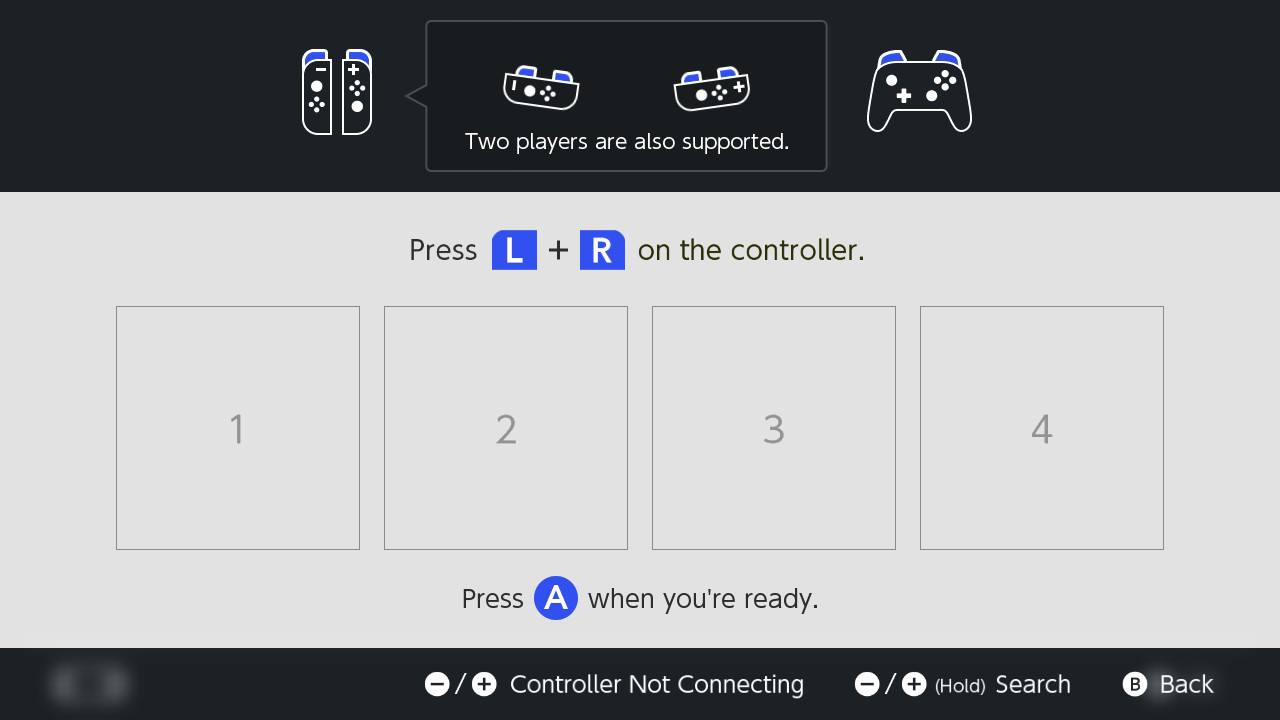
- Select Change Grip/ Order, the first option to appear in the Controller settings.
-
Click the left and right buttons on your WaveBird to connect to the Switch.
Once your controller has connected, it should show up as a USB controller. If it does, then you have officially set up your Wavebird.
The WaveBird controller is great for classic games, like Mario Kart or Sonic Mania, but it will lack luster in newer games like Splatoon 2 or Breath of the Wild. Although you have to pick and choose which games would work best for this controller, it's great to be able to use a classic once again.
How will you be using your WaveBird?
Let us know down in the comments if you'll be using your WaveBird for your Switch!
from iMore - Learn more. Be more. http://bit.ly/2DFv6ow
Powered by IOSCUBE


No comments: